Part 2 : node.js app
This is the second part of How to integrate paypal in node.js apps. In the first part we learned to create an account and we also created a REST API based app on paypal. In this part of the tutorial, we'll create our node.js app and add the functionality to accept payments by using paypal REST sdk along with the credentials from the app that we created.
The directory structure of our node.js app should look like the following. In the following sections we'll explore each
of the files mentioned below one by one.
node_modules

public-----/
			/----app.css
			/----app.js
			/----cover.png
			/----err.html
			/----index.html
			/----success.html
package.json
server.js
Package.json is our package file. It lists all the dependencies for our app along with other project meta data.
The content of your package.json file should look similar to this :
{
	  "name": "paypal-integration-using-nodejs",
	  "version": "1.0.0",
	  "description": "how to start accepting payments on your website using paypal",
	  "main": "server.js",
	  "scripts": {
		"test": "echo \"Error: no test specified\" && exit 1"
	  },
	  "keywords": [
					"paypal",
					"payment",
					"gateway",
					"nodejs",
					"payment",
					"integration",
					"in",
					"web",
					"apps"
				],
	  "author": "@nodejsera",
	  "license": "MIT",
	  "dependencies": {
				"express": "^4.15.4",
				"paypal-rest-sdk": "^1.7.1"
			}
}
We can install all the dependencies by using the single command npm install . It
will automatically install all the packages required by our application.
>npm install
This is the file where we initialize our node.js app and write all the logic for our program.
Read through the code along with the informative comments before you move on to the next section :
// import the required packages

var express = require('express');
var path = require('path');
var app = express();
var paypal = require('paypal-rest-sdk');


// configure paypal with the credentials you got when you created your paypal app
paypal.configure({
  'mode': 'sandbox', //sandbox or live
  'client_id': 'YOUR_CLIENT_ID_HERE', // please provide your client id here
  'client_secret': 'YOUR_CLIENT_SECRET_HERE' // provide your client secret here
});


// set public directory to serve static html files
app.use('/', express.static(path.join(__dirname, 'public')));


// redirect to store when user hits http://localhost:3000
app.get('/' , (req , res) => {
    res.redirect('/index.html');
})

// start payment process
app.get('/buy' , ( req , res ) => {
	// create payment object
    var payment = {
            "intent": "authorize",
	"payer": {
		"payment_method": "paypal"
	},
	"redirect_urls": {
		"return_url": "http://127.0.0.1:3000/success",
		"cancel_url": "http://127.0.0.1:3000/err"
	},
	"transactions": [{
		"amount": {
			"total": 39.00,
			"currency": "USD"
		},
		"description": " a book on mean stack "
	}]
    }


	// call the create Pay method
    createPay( payment )
        .then( ( transaction ) => {
            var id = transaction.id;
            var links = transaction.links;
            var counter = links.length;
            while( counter -- ) {
                if ( links[counter].method == 'REDIRECT') {
					// redirect to paypal where user approves the transaction
                    return res.redirect( links[counter].href )
                }
            }
        })
        .catch( ( err ) => {
            console.log( err );
            res.redirect('/err');
        });
});


// success page
app.get('/success' , (req ,res ) => {
    console.log(req.query);
    res.redirect('/success.html');
})

// error page
app.get('/err' , (req , res) => {
    console.log(req.query);
    res.redirect('/err.html');
})

// app listens on 3000 port
app.listen( 3000 , () => {
    console.log(' app listening on 3000 ');
})


// helper functions
var createPay = ( payment ) => {
    return new Promise( ( resolve , reject ) => {
        paypal.payment.create( payment , function( err , payment ) {
         if ( err ) {
             reject(err);
         }
        else {
            resolve(payment);
        }
        });
    });
}
-
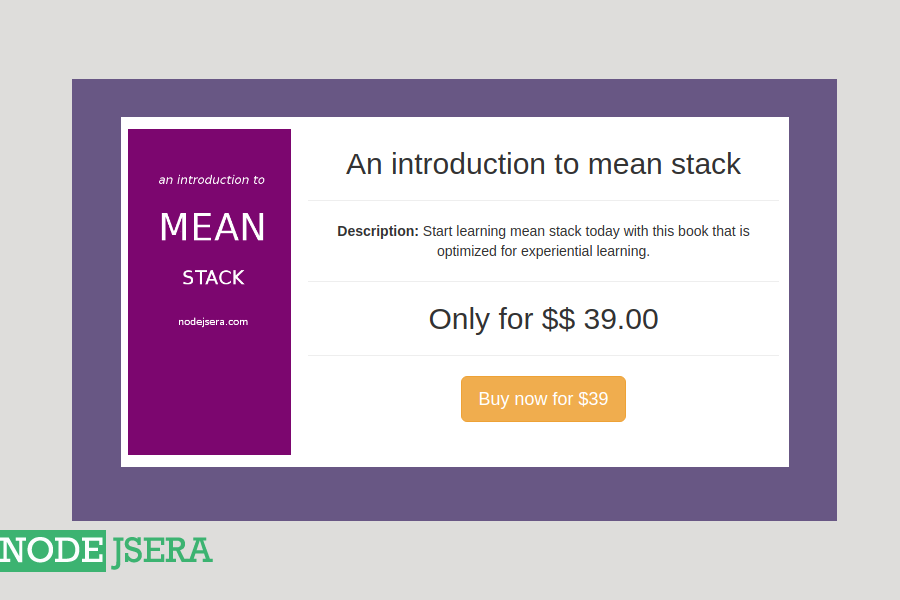
index.html :
Note that index.html is the file where user can see the single product in our store which is a book and
the user can click on buy to start the payment process. Also , the click event hits the nodejs api we
create above and when the endpoint is hit , the payment creation and approval process with paypal starts
as defined by the code above. Just copy the following code in your index.html file.
<div class="row">
      <div class="col-md-3">
      </div>
      <div class="col-md-6">
            <div class = "main">
                <div class="row padder">
                    <div class="col-md-3 cover">
                        <img src="cover.png" class="img img-responsive" alt="book" > </img>
                    </div>
                    <div class="col-md-9">
                        <h2> An introduction to mean stack </h2>
                        <hr>
                        <b> Description: </b> Start learning mean stack today with this book that is optimized
                        for experiential learning.
                        <hr>
                        <h2> Only for $$ 39.00 </h2>
                        <hr>
                        <a href="/buy">
                        <button class="btn btn-warning btn-lg"> Buy now for $39 </button>
                        </a>
                    </div>
                </div>

             </div>
      </div>
      <div class="col-md-2">
      </div>
-
err.html :
In case we recieve an error status from paypal approval process , we can redirect the user to this page
indicating that there was some error. You have to copy the following code into your err.html file in
the public directory.
<div class="row">
      <div class="col-md-3">
      </div>
      <div class="col-md-6">
            <div class = "main">
                <div class="row padder">
                    <div class="col-md-3 cover">
                        <img src="cover.png" class="img img-responsive" alt="book" > </img>
                    </div>
                    <div class="col-md-9">
                        <h2 style="color: #dd3322;"> Alas :( <hr>
                            An error has occured.
                         </h2>

                        <hr>
                        <a href="/">
                        <button class="btn btn-warning btn-lg"> Back to home.  </button>
                        </a>
                    </div>
                </div>

             </div>
      </div>
      <div class="col-md-2">
      </div>
-
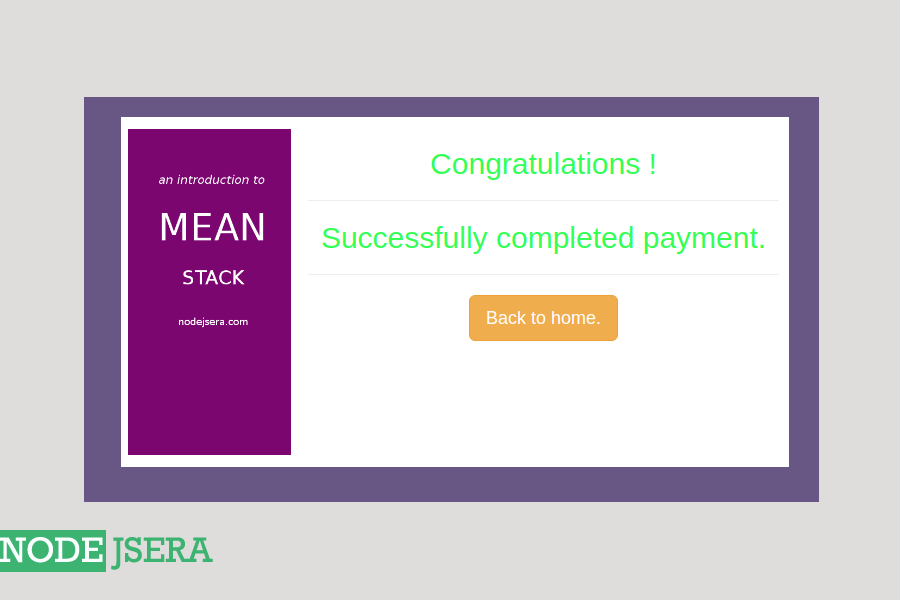
success.html :
when the payment process the successful , we redirect the user to this page indicating that the payment
has been done successfully. Just copy the code and paste it into the file success.html inside of the
public directory.
<div class="row">
      <div class="col-md-3">
      </div>
      <div class="col-md-6">
            <div class = "main">
                <div class="row padder">
                    <div class="col-md-3 cover">
                        <img src="cover.png" class="img img-responsive" alt="book" > </img>
                    </div>
                    <div class="col-md-9">
                        <h2 style="color: #33ff55;">
                            Congratulations ! <hr>
                            Successfully completed payment.
                             </h2>
                             <hr>
                        <a href="/">
                        <button class="btn btn-warning btn-lg"> Back to home.  </button>
                        </a>
                        </a>
                    </div>
                </div>

             </div>
      </div>
      <div class="col-md-2">
      </div>
In order to run the app , simply execute the following command in your terminal :
node server.js
This will start your app on
http://localhost:3000 just point your brower to this
address and you're done.
Note that we've ommited css and image files here just to keep things simple , you may need these files when running the code , you can download them from our github repo.
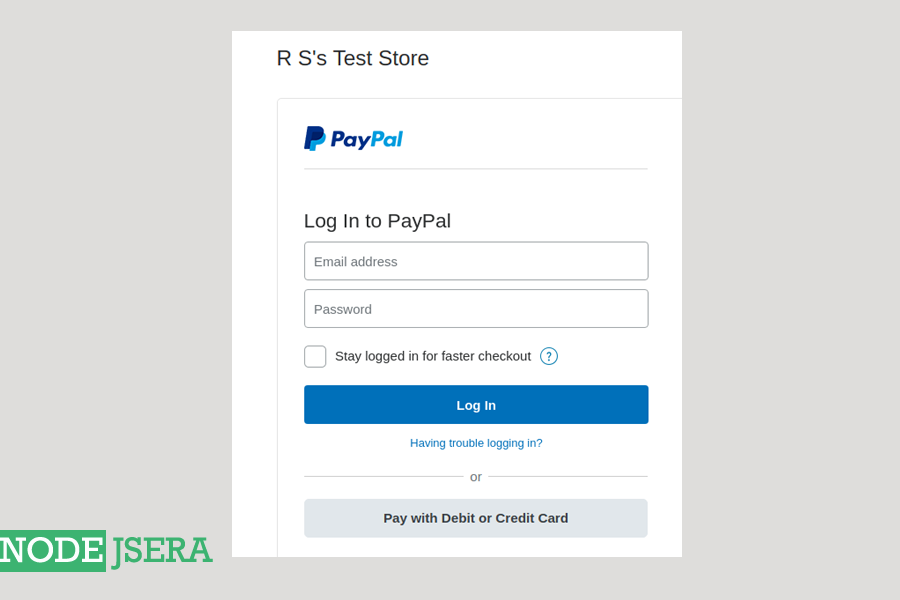
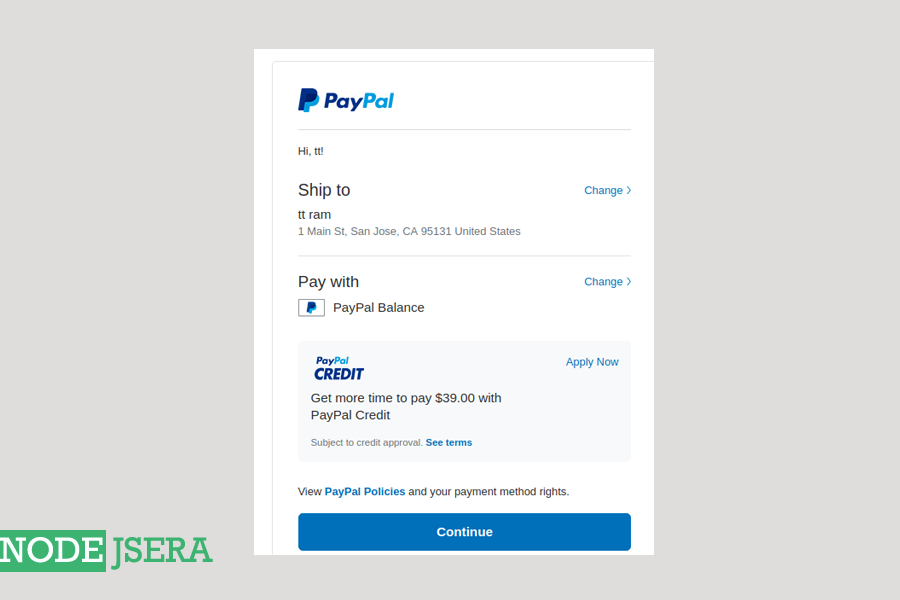
Go to your browser at http://localhost:3000 and click on pay now button , you'll be redirected
to paypal for approval and there you can use the test account you created in last part to make the dummy payment
and upcon successful payment , you'll be redirect back to the nodejs app with success status.
Snapshots of the working app
- Snapshot 1 :
- Snapshot 2 :
- Snapshot 3 :
- Snapshot 4 :
Congratulations !! We've finally accomplished the task of integrating paypal payments in our webapps
using node.js . Just to summarize , following are the steps we took including part-1
and part-2
of this tutorial ::
- Creating a paypal account
- Setting up a rest app in dev account and noted down credentials
- Creating test accounts
- Creted nodejs app
- Made our first test payment